In my last post about the rotola -- more than seven months ago now -- I made optimistic descriptions of what would come next and how I'd get those things done. Well, things have gone well in some ways and not so much in others. My plan had been to post again once I had the eight strips of the soundboard fully bent, an endcap to attach them to, and an axle to run through the whole thing. Once I got to the bending part, though, things stopped going according to plan and, given the time elapsed, it seemed like I should post an update, regardless of progress.
The next step after I left off was to round off the pinblock. Unfortunately, the best tool for that was one I did not have: a power sander. I had had my eye on another Triton tool, recommended by the same YouTuber who sold me on the router I bought, but when I finally had enough cash set aside to order it, it was out of stock. It finally came in May, though, and I got straight to work making my octagonal pinblock round. This entailed making sure the center hole was well-centered (it was) and creating a simple jig for keeping the pinblock the right distance from the sanding belt, thus:
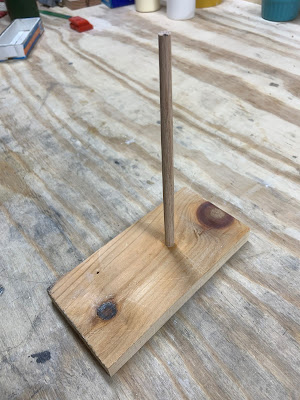
I didn't have a dowel the right size, so I made this oak one by hand; I was very pleased with it. With my new dowel stuck squarely into a piece of hard scrap, rounding the pinblock was quick work:

Now I was finally able to test fit the piece from the first steam-bending test (see previous post) to the pinblock to see if the radii* of the molds I'd made previously were right. The result:

Nope.
So, I needed to create a new set of molds. Given the tediousness involved and mess produced by making the first set of molds (also see previous post), I made a router table using the fancy new router I had previously acquired (indeed, I purchased that model specifically because it works so well under a table). This went fairly well, if slowly and in fits and starts, and resulted in a very functional table that I'm pretty happy with:

The router plate and stand are from Rockler; the former I'm happy with and the latter I'm impressed with. The top is two sheets of 3/4" MDF glued together, making it stable and pretty flat and I ran stretchers across the bottom, which you can't quite see here, to make it very flat. It's finished with several coats of shellac, so it's hard, and rubbed with Renaissance Wax, so its slicker than snot. The fence is a piece of angle aluminum and two pieces of oak, held in place by the T-track in the tabletop and T-track bolts with hand knobs, hidden behind the fence in this view. The T-track is screwed place, rather than glued, so you can slide it back: the screw holes are several inches apart, so if you slide the track out one screw-hole, you can extend the fence off the back of the table by that distance, expanding the depth of the fence significantly. I spent quite a bit of time planing and shimming the oak so that the two pieces would be both coplanar and square to the table (I learned too late that angle aluminum is not necessarily square). I anticipate at some point in the future when I'm better at such things that I'll rebuild the fence and possibly the table to make everything more precise, but it meets my needs for now.
With the table built, I was able to make new molds with tighter radii and do it faster and more accurately than what I did hand routing the first time. Indeed, the concave half took me about an afternoon, whereas I spent literal days on the first one. I did not record the process, but I can describe it simply enough: Using the fence, I started by routing out the edges of the concavity, the shallowest and outermost sections. The router table cut much of the work in half by allowing the setup for one side to be identical with the other (by hand, I'd had to set each side individually); it also made the actual routing faster, as I could guide the wood across the bit steadily, safely, and confidently (as opposed to moving the router carefully and wobbly across the wood). I could then iterate this, moving closer to the center and raising the bit little by little, until I had the curve roughed in. Too, because of the precision the table allowed, I could cut with a "higher resolution," leaving less needing to be sanded to get to the final shape. (For the convex half, I used the same method as before, roughing it out on the bandsaw and then rasping and sanding to the final shape.)
In theory, at this point I could move on to steaming, but I realized that I expected to do enough steaming that it would be worthwhile making a dedicated steambox, rather than relying on turkey roasting bags as I did for my first attempt. So I built one:


It's wildly overbuilt, with screws and ample glue and sealed with spar varnish. It does have one leak at the intake end, which I may or may not fix; condensation needs to get out, as well as the steam, so really, it's fine. Like everything on this project -- actually at this stage of my lutherie -- it's an experiment. I did look at countless YouTube videos, online posts, and paper magazine articles before going forward with this and my steambox looks pretty much (in some cases very much) like many others out there, which gives me some confidence.


No comments:
Post a Comment